home             about             house tour             studio             contact             advertise

Tuesday, April 9, 2013

Gilly Hearts Nails!

How many of you have a nanny that makes nail polish? No joke, our amazing nanny, Noelle has an online business and custom makes nail polish! You must check it out! She is crazy talented and makes the best nail polish. My girls are spoiled. Noelle watched the girls yesterday and brought Zion (3 yo) a custom purple glitter nail polish with pink hearts in the polish. PRESH! Zion loved it. The polish stays on great and is so fun for spring. Painting nails is a weekly activity for Zion and I. It is so fun to change our nails out with the seasons. It is definitely one of my favorite mother/daughter activities to do. Check out Noelle's instagram where she shows her crazy art on her finger nails or her Shop to order yours today. She has a sale going on right now! 

I am not getting paid for this post, just wanted to show you Noelle's product! 


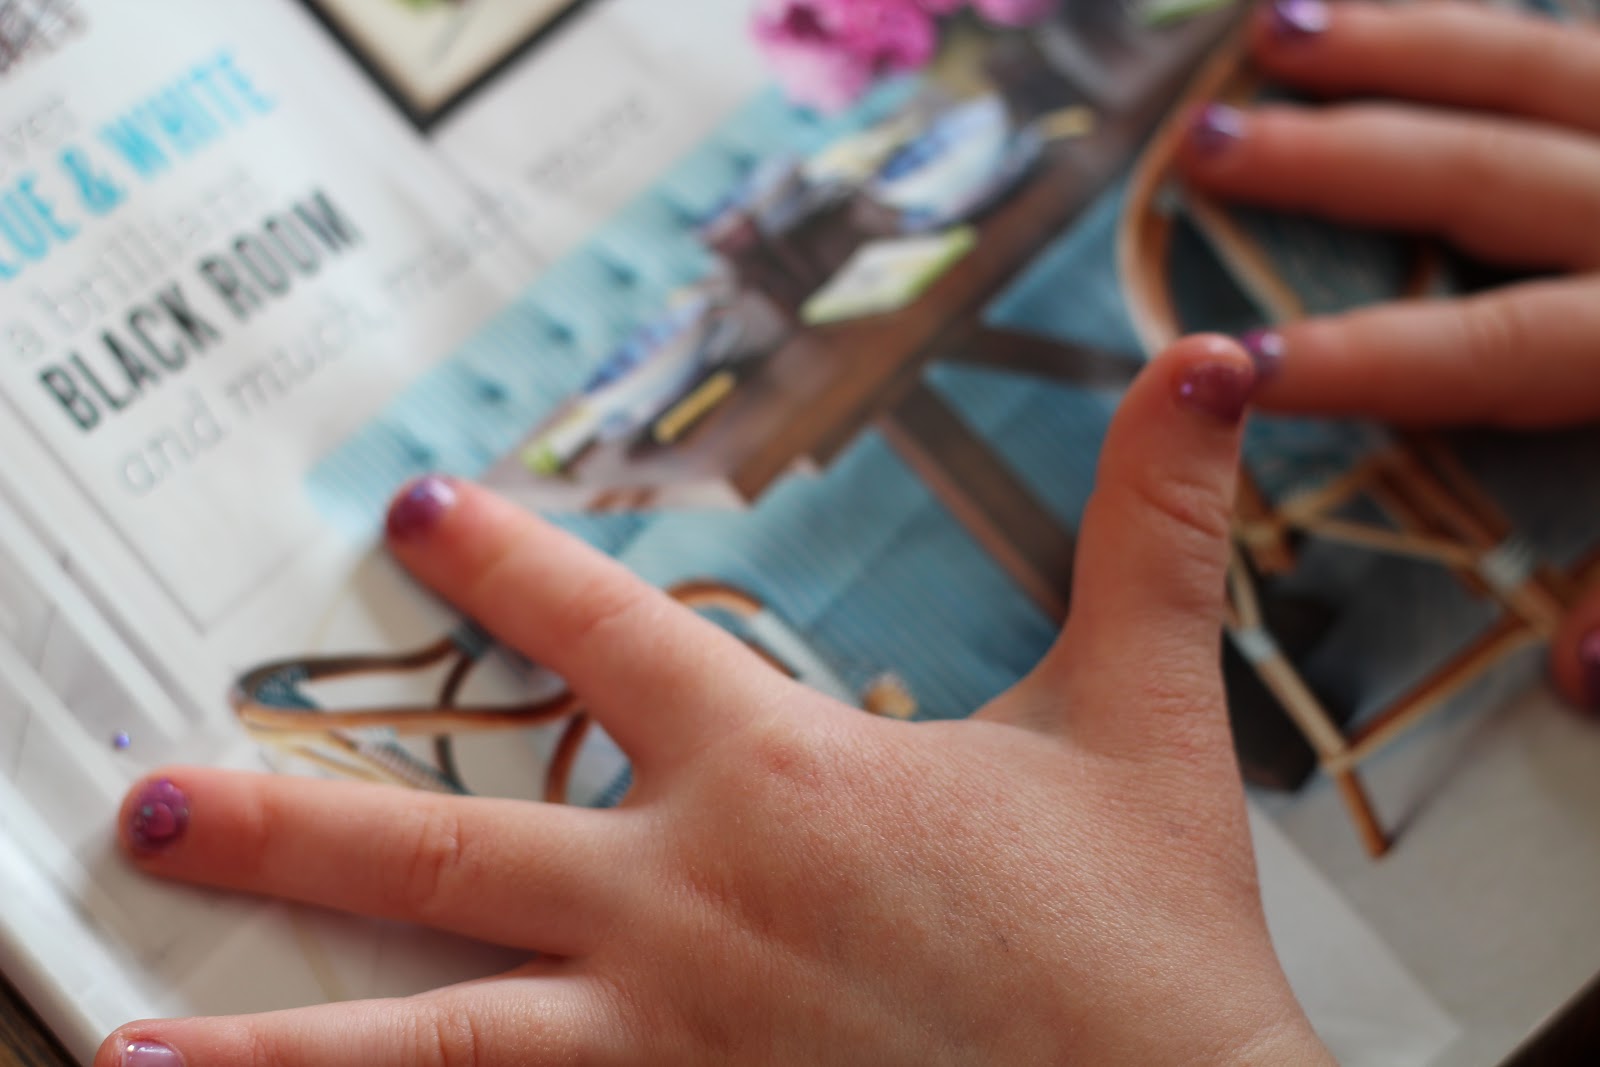
Do you see the cute hearts? I love it!!!!! It makes Zion feel so special!


 My little model hands! She is so cute. Thanks Noelle for loving our girls! You are the best! xoxoxo

Happy Tuesday!!!


Monday, April 8, 2013

Link Love

Everyone knows how much I love blogs, social media and all this inspiration online. I thought it would be fun to share with you some of my favorites from the week! 


Super Easy Skirt tutorial on Everyday Beautiful and of course I would pick some fun fabric to go with it. I am really tempted to get matching skirts with my two daughters......its a must. 

7 on Kelly Hicks Design. I love this concept of only wearing 7 pieces for an entire month. I am really thinking May would be a fun month to do this. It would be a good challenge for me. Anyone with me? I love the idea. 

Sharpie Wall Art on Vintage Revivals. I am totally wanting to do this in our dining room! Love it.

Strawberry Rhubarb Pie from Cupcakes & Cashmere. This is my fav. by far! YUM YUM> I want summer. 

Overnight French Toast on Mingle & Rubbish. We are having company on Saturday and I am thinking this recipe is a must from my sisters blog! LOVE. It is heavenly. 

Obsessed with this house...i drool. Check out the house tour on Going home to Roost. 

Do you have any favorite links right now? Please share! I love the inspiration........Happy Monday my friends. 

Don't forget to check out my giveaway on Instagram! It ends Wednesday night (4/10). I am giving away a Paul Mitchell Awapuhi Shampoo + Conditioner! (Valued at $40). 


Ways to win:

+ follow me on instagram
+ repost this picture and use #talahairlifegiveaway
+ you can enter daily

winner announced on Wednesday night! 


Follow on Bloglovin


Saturday, April 6, 2013

Beeswax Candle making---


I have been wanting to make candles for quite some time now. I am really sensitive to a lot of aromas so I am really picky on the scents that we bring in the home. When I came across this Etsy shop selling beeswax, I was stoked. I can't believe how easy it is to make candles. You must try!


Materials needed:

beeswax. ( I used 5 pounds) It made 8 candles--ranging in sizes.
pot to boil in. ( I bought one at Goodwill for $3)
lighter
jars/candle containers ( I used canning jars and random cups) 
Candle wick ( I got mine at Michaels craft store for $9.99 with a 40% off coupon)
masking tape
scissors


 Step 1 //  Heat the wax. I put the heat on medium, uncovered for 10 + minutes. Do not bring to a boil. 


Step 2 // I took the jars and poured about a 1" off the melted wax into them. Once the wax was in the container, I put the cut wick in place (center) and held it there while it was there for good. 

Step 3 // I made an X with masking tape and cut a hole in the center for the wick. 

Step 4 // Pour the remaining wax in the jar. I filled the jars up to the top, leaving 1/2-1" left.

Step 5 // Allow to cool and harden. I then cut the wicks for the length was about 1/2". 


I love them! I gave the cute little tea cup and saucer to a friend. I got it for 50 cents at Goodwill. PRESH! 


I took some fabric from Jody's shoppe and wrapped it around my jars and used embroidery floss to hold it in place. I thought it was festive for spring and happy for my kitchen table! LOVE!

Have you ever made candles? Do you have any tips for me? I really want to try making beeswax tapers with the honeycomb.......

Enjoy your weekend! 


Friday, April 5, 2013

H54F

Happy Friday! What a week!! The craziness of raising our little girls. Easter Sunday activities. Moving my sister into her new house. going to Minneapolis for a meeting. hosting our pastoral staff over for greek night. crafting and creating.....its been a blessed week. Here are some highlights of our week:


I have always wanted to make homemade beeswax candles! I made 5 pounds worth of them this week. I love! Check back tomorrow for the tutorial on how to make them! They are heavenly!


Zakiyah Nova is 7 months old-teething 4 teeth! She is keeping me up quite a lot in the night..but she is one happy lil girl. She is obsessed with bananas and avocados = which means many outfit changes after her meal times.


Last night we had all of our pastors over for din din! (My hus is a youth pastor). We try to get together quarterly- give or take- it is so fun! We had one of my fav meals....GREEK. So amaze! I love our staff. I love our church. I love how they are family! So BLESSED.


My little family on Easter. The girls are wearing Target- head to toe. Lets be real- that is the main store I get to with these little ladies. I wearing a Express infinity scarf from my friend Katherine, J Crew cardigan, and Forever21 mint skirt. Andy is wearing....Gap- imagine that. Isn't that owl so cute? I scored it for 75% off at a local boutique for the Easter baskets.


Hosting is always a great -Christy Excuse- for fresh flowers everywhere! I love spray roses in the spring! I printed this printable off a lovely blog this week for free! I spray painted the frame and sanded it down! It is hanging in my kitchen!

Don't forget to follow my blog on BLOGLOVIN'! and follow me on Instagram! I am going to be giving a big giveaway this week. Loves. Happy Weekend! Fun fact:  Today is my hus and my 11 year anniversary from dating! 


(linking up with Lauren and Jeanette)


Wednesday, April 3, 2013

Easter + Cass style

I love Easter. 
I want spring.
I love matching little Z girls outfits.
I want spring.
I love Starburst jellybeans.
I want spring.
I love watching lil kids look for eggs (indoors)
I want spring. 
I love our church on Easter Sunday. 
I want spring.
I love celebrating all holidays with kids-its magical!
I want spring. 

(Can you tell I am ready for flip flops. tulips. iced lattes. windows open. trees budding. pastels. fresh cut grass. smell of grilled din din. sidewalk chalk. campfires. i am ready). 


We had a few kiddos over for some easter egg hunt festivities! It was a blast.


That teddy is mine from when I was a little girl. I toted that thing everywhere for 5 years! Now,  Zion loves it. Makes my heart happy!


I love-love-love these books. I have given them as gifts. I love the classics....and I love the illustrations in them. I snatched them up at a local shop for 1/2 off. Perfect for easter baskets. 


We finally dyed eggs on Easter Sunday- It was simple and fun for Zion. Man, those blues kill me.


Did you do anything fun for Easter? Do you have any fun plans for spring?! 


LOCK LOVE WEDNESDAY!

I started Lock Lock Wednesday to get myself motivated to style my hair everyday. It is so easy, for even hair stylists to get in a rut with their hair. I am hoping to inspire you along the way with simple and fun techniques to help you look fabulous! Join me along the way. It will be fun! All you have to do is take snapshots of your hair during the week and link up with me below! 


Here I took my hair in vertical sections and twisted them and pinned them in place with a bobby pin. I then put my hair in a side pony. 


I love styling my daughter, Zion's hair as well. I twisted her hair back on both sides and put it in a messy bun and clipped it up for fun.


This is my Easter updo. I just pinned it up in sections a touch to the side.


As I said last week, I have been wearing my hair in high messy buns a lot. It is in fashion. easy. and off my face.

Join me with LLW and show us your daily/weekly hairstyles! Find me on Instagram and #locklovewed or #locklovewednesday

Happy Wednesday!!! Don't forget to follow me on Bloglovin! It is a really fun way to keep up with your favorite blogs. (I have a bloglovin button on the right sidebar) and check back later today for my Easter recap! 


Tuesday, April 2, 2013

How to hang a mounted picture TUTORIAL!

I have been staring at this gorgeous picture from our wedding (2005) for far too long. It was mounted on backing when printed from Fagan Studios. I love this picture. It was taken right before our ceremony when we were gathered with our wedding party and family. We did a quick prayer before the festivities started. I have been meaning to get it professionally framed for almost 8 years. Opps. So, I opted for this fun/casual/cheap solution instead! 


Materials needed:

scissors
ribbon
mod podge 
construction paper/card stock
super glue
ruler


You want to figure out the measurements for your ribbon to be glued. Mark it with a pencil.


Cut the ribbon to desired length and super glue it to the back.


Mod podge the paper on the back. I used the MP on both the paper and back of the picture. Let dry. and repeat with another layer of MP.


I let it dry for a couple of hours for good measure. I chose to hang it in my bedroom! I love it! The contrast of the yellow ribbon with the black/white photo is perfect-o! 


If you have pictures that you want to mount....check out Pinterest for ideas. You can decoupage them onto insulation board or a canvas. Super easy.